Making Ice Cream with S.T.E.A.M.: a Delicious Lesson Plan
In this series, we have been featuring lesson ideas for the S.T.E.A.M. teacher that can be completed with students virtually using items that can be found at home or acquired for a minimal cost. This is also an opportunity for children to get their parents involved in the learning process and advertise your S.T.E.A.M. program. Our first lesson centered around the use of a simple proportion to estimate a total population. This project will focus on the culinary arts and the states of matter as we turn a liquid into a cool desert treat.
Lesson Name: Ice Cream Creators
Lesson Description: Everybody loves a smooth, cool, tasty treat at any time of the year. Well, here is your chance to make one with your partner from scratch.
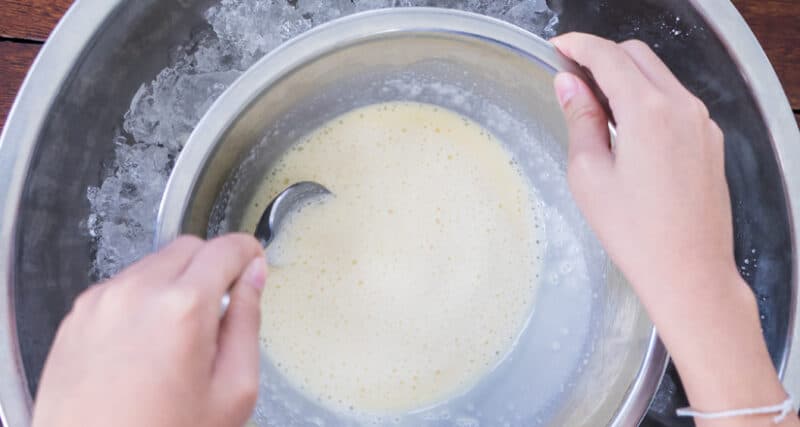
Overview: This is a small group lesson. Students can work with a peer partner or a parent. They should start by pouring some heavy cream or juice into the sealable bag. Next, pour some ice into the coffee can until the can is halfway full and place the bag on top of the ice. Fill the coffee can with ice the rest of the way. After pouring salt on the ice to lower the temperature of the ice, seal the can and roll the can back and forth between you and your partner. So how does the liquid cream become a solid? How does the salt lower the temperature of the ice? Well if you recall, we use salt in the wintertime to melt ice on sidewalks and streets. We use salt because it actually lowers the freezing point of the ice. The salt hinders the water’s ability to become a solid. So, in effect, the ice loses energy to the salt. The molecules in the liquid cream slow down as the molecules in the ice are starting to move more quickly. This causes the cream to rapidly drop in temperature and become the semi-solid we know as ice cream.
S.T.E.A.M. Integration
Science: The science behind this lesson is quite interesting because it serves to answer the question “how does salt melt ice?” The salt actually lowers the freezing point of ice and prevents water from forming a bond. Essentially the ice loses energy to the salt and its temperature decreases.
Technology: Students will have the opportunity to explore the technology that goes on in this lesson with how the ingredients are combined to change the state of matter of the liquid cream into a semi-solid.
Engineering: The engineering is in the design of the container. By surrounding the bag of cream with ice and then packing the salt on the ice, we are setting the stage for the freezing process. The contents are inserted into the empty coffee can for the necessary churning to turn the cream into a delicious treat.
Art: The culinary arts can be incorporated into this project as the students can explore different flavor combinations.
Math: Mathematics enters this lesson with the measuring of the ingredients.
Extend-Expand-Explore: Have students re-try the experiment using a favorite fruit juice instead of cream to make an icy treat. Vary the quantities of the ingredients to see which appeals to your taste best.
Lesson Plan
Title: Ice Cream Creators
Objective: To have students understand change in the state-of-matter.
Materials: Coffee can, zip-lock bag, duct-tape, ice, salt, heavy cream, sugar and flavoring of choice (optional)
Procedure:
- Pour one cup of heavy cream into the Zip-Lock bag. Add a flavor at this time if you wish. Fresh fruit or vanilla extract make a good addition, but it’s completely up to you. Just be sure to seal the bag properly.
- Pour some ice into the coffee can until the can is halfway full.
- Place the Zip-Lock bag on top of the ice and fill the coffee can with ice the rest of the way.
- Pour one-half of a cup of salt on the ice.
- Seal the coffee can with the lid and use duct-tape around the lid to reinforce the seal.
- Roll the can back and forth between you and your partner for about five to seven minutes.
- Open the can carefully and gently remove the Zip-lock bag.
- Enjoy your ice cream creation.
Conclusion: Have a group discussion with the participants. Ask them what they observed. Ask students to make predications as to the outcome of the experiment along the way. Ask students if they noticed a decrease in the amount of ice and an increase in the amount of water remaining in the can after the lid is removed. Have students pour some salt directly onto a cube of ice and describe what happens.


